前些日子试了下vscode配合docker容器开发,体验特别不错,比敲docker命令舒爽多了。在这里和大家分享一下。
安装插件
首先你的机器上安装好docker和vscode两个基本软件并启动它俩,这里就不多说了。接下来我们正式进入主题:
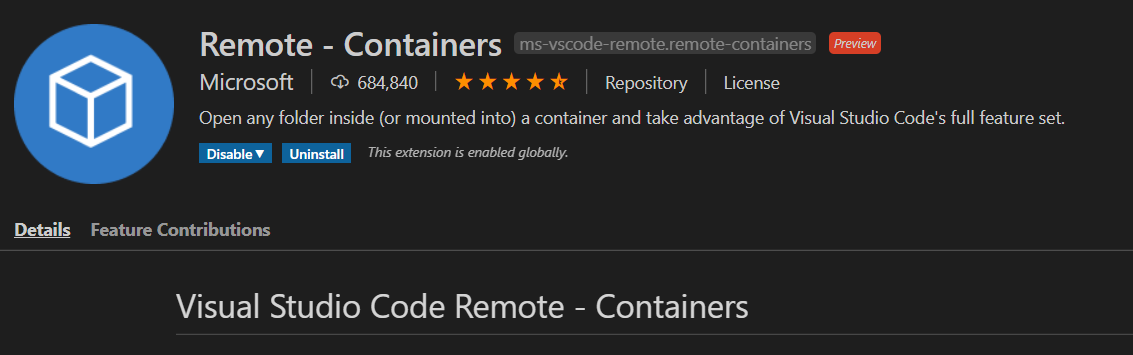
在vscode的扩展栏中搜索:Remote或者Containers,找到Remote - Containers这个插件,并且安装好,如图:
项目配置构建
这里拿世界上最好的语言php来做个示范,使用git拉取微软官方提供的一个例子:
git clone https://github.com/microsoft/vscode-remote-try-php.git
接下来我们使用vscode打开这个项目,我们可以看到这样的目录结构:
.
├── .devcontainer
│   ├── Dockerfile
│   └── devcontainer.json
├── .vscode
│   └── launch.json
└── index.php
我们可以看到一个熟悉的Dockerfile, 大概看看它的内容:
FROM php:7-cli

# Avoid warnings by switching to noninteractive
ENV DEBIAN_FRONTEND=noninteractive

# This Dockerfile adds a non-root user with sudo access. Use the "remoteUser"
# property in devcontainer.json to use it. On Linux, the container user's GID/UIDs
# will be updated to match your local UID/GID (when using the dockerFile property).
# See https://aka.ms/vscode-remote/containers/non-root-user for details.
ARG USERNAME=vscode  # vscode用户
ARG USER_UID=1000
ARG USER_GID=$USER_UID

RUN sed -i 's/security.debian.org/mirrors.aliyun.com/g' /etc/apt/sources.list \
    && sed -i 's/deb.debian.org/mirrors.aliyun.com/g' /etc/apt/sources.list

# Configure apt and install packages
RUN apt-get update \
    && apt-get -y install --no-install-recommends apt-utils dialog 2>&1 \
    #
    # install git iproute2, procps, lsb-release (useful for CLI installs)
    && apt-get -y install git openssh-client less iproute2 procps iproute2 lsb-release \
    #
    # Install xdebug  安装了xdebug
    && yes | pecl install xdebug \
    && echo "zend_extension=$(find /usr/local/lib/php/extensions/ -name xdebug.so)" > /usr/local/etc/php/conf.d/xdebug.ini \
    && echo "xdebug.remote_enable=on" >> /usr/local/etc/php/conf.d/xdebug.ini \
    && echo "xdebug.remote_autostart=on" >> /usr/local/etc/php/conf.d/xdebug.ini \
    #
    # Create a non-root user to use if preferred - see https://aka.ms/vscode-remote/containers/non-root-user.
    && groupadd --gid $USER_GID $USERNAME \
    && useradd -s /bin/bash --uid $USER_UID --gid $USER_GID -m $USERNAME \
    # [Optional] Add sudo support for the non-root user
    && apt-get install -y sudo \
    && echo $USERNAME ALL=\(root\) NOPASSWD:ALL > /etc/sudoers.d/$USERNAME\   # 把vscode这个用户授权sodo
    && chmod 0440 /etc/sudoers.d/$USERNAME \
    #
    # Clean up
    && apt-get autoremove -y \
    && apt-get clean -y \
    && rm -rf /var/lib/apt/lists/*

# Switch back to dialog for any ad-hoc use of apt-get
ENV DEBIAN_FRONTEND=dialog
这是一个基于php:7-cli的php环境并且装了xdebug扩展,再添加了一个名叫vscode的用户并授权sudo。
考虑到我们的网络问题,我们使用aliyun的镜像地址来加速构建。在上面的Dockerfile中加了两行:
RUN sed -i 's/security.debian.org/mirrors.aliyun.com/g' /etc/apt/sources.list \
    && sed -i 's/deb.debian.org/mirrors.aliyun.com/g' /etc/apt/sources.list
启动
完事具备,开始运行它:
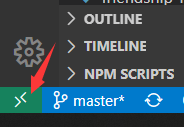
按F1然后选择Remote-Containers: Open Repository in Container。或者点左下角的图标:
因为更换了源,几分钟时间就构建好。
运行成功之后,你可以发现,开发流程和本地开发几乎一摸一样。我们打开vscode下的terminal终端,可以看到命令提示符:
vscode@0d2acb021651:/workspaces/vscode-remote-try-php$
这个vscode用户就是之前Dockerfile中定义的用户。
接下来就完全当本地开发吧。
添加端口
我们php开发,大多是web开发,我们在上面打开的终端中启动一个web服务:
php -S 0.0.0.0:8080
这时候需要映射一个端口到本地:
按F1然后选择Forward a port,比如也输入8080。在浏览器中打开127.0.0.1:8080就可以访问我们的web服务。
我们还可以在启动的时候让它自动映射端口,我们在devcontainer.json文件中加入:
// An array port numbers to forward
"forwardPorts": [8080],
是不是特别的方便~😎😎😎
最后想说的是:虽然现在vscode下开发php还不如phpstorm来的爽快,但是这种开发模式确实已经超过了phpstorm。体验好,简单还有例子,文档也齐全。其他语言的例子也都有,大家可自己尝试下。
参考:
- https://marketplace.visualstudio.com/items?itemName=ms-vscode-remote.remote-containers
- https://code.visualstudio.com/remote-tutorials/containers/getting-started
评论